Are you an artist starting your first-ever public art project?
Be it a mural, sculpture, or digitally printed installation of your artwork, you want to be prepared. That’s why we started an artist guide on how to prepare for public art!

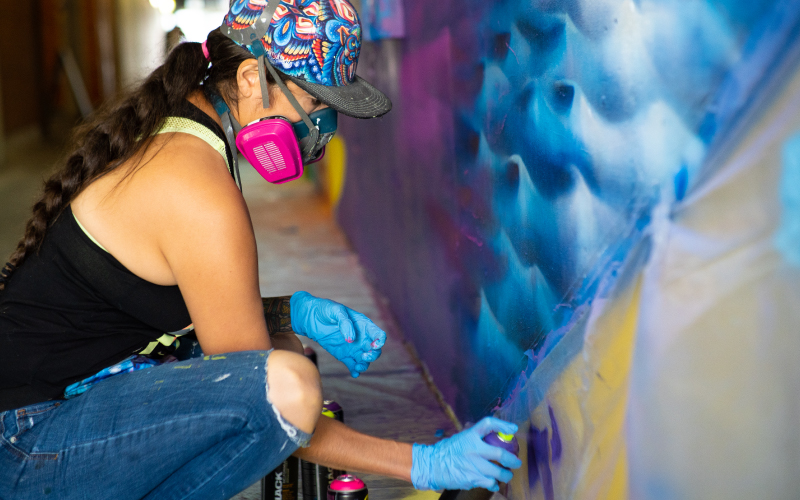
Artist credit: Shalak Attack for the Daily Migration Mural
Photo credit: May Shi
This feature is part of Fieldnotes, a public art blog series by STEPS that promotes inclusive and innovative public art through interviews, storytelling, case studies, and knowledge sharing.
How to prepare for public art
Whether you’re taking steps toward applying to a public art opportunity or accepting a new project, congratulations on advancing your artistic journey. We know how exciting and overwhelming it can feel, especially if it’s your first time going through the process.
As an artist, naturally, you want to do just that–make art. But, there are a few steps to consider beforehand that will lead to a smoother process when the artmaking comes.
So, take note of this artist guide to help artists like yourself prepare for your next public art project. It’s not in any particular order–just a list of *hopefully* useful reminders.
This isn’t an exhaustive list of artist tips and tricks (and we’ll continue to build this page with other important considerations). If you have feedback or suggestions to make this list more useful for emerging artists, let us know.
Do you have a portfolio?
If you’re applying to public art opportunities, chances are you’ll be asked to provide past artwork to showcase your medium and artistic style. You may be asked to submit in different formats–uploading files directly, compressing images into a single PDF file, and/or links to a website (just to name a few).
It’s great to be prepared and have your artist portfolio organized and available in various formats. If you need support in submitting your materials, don’t be afraid to reach out to the point of contact in advance to explore other options to accommodate your needs.
Other notes to consider:
- Minimum/maximum number of artworks required
- Image or file size–consider having high-resolution and lower-resolution files easily available in case there are file size limits
- Use consistent and easy-to-read file names–this will make your files look more polished and professional
- Double-check links–make sure website links are fully working and regularly updated with projects you’re most proud of!
- Have a general bio or artist statement ready–expand on what informs/inspires your work (not just a list of past clients)
Read your contracts and know your rights
You received the contract for the public art gig–congratulations! Be sure to read through the contract carefully to understand expectations, deliverables, and timelines. This is your chance to ask questions and clarify anything you might not understand.
You should also have an understanding of your rights (after all, you are the owner of your work). We really enjoy the artist resources by CARFAC (Canadian Artists Representation/Le front des artists Canadiens), like Know Your Rights which goes over artist copyrights and moral rights, as well as Legal Clinics for Artists if you’re looking for legal support.
If you’re working on a project with STEPS, we remove the extra step of going back and forth with the client. Think of us as your project manager and artist advocate. We ensure your contracts are fair and that you’re equitably compensated for your time and talents!
Complete training (if needed)
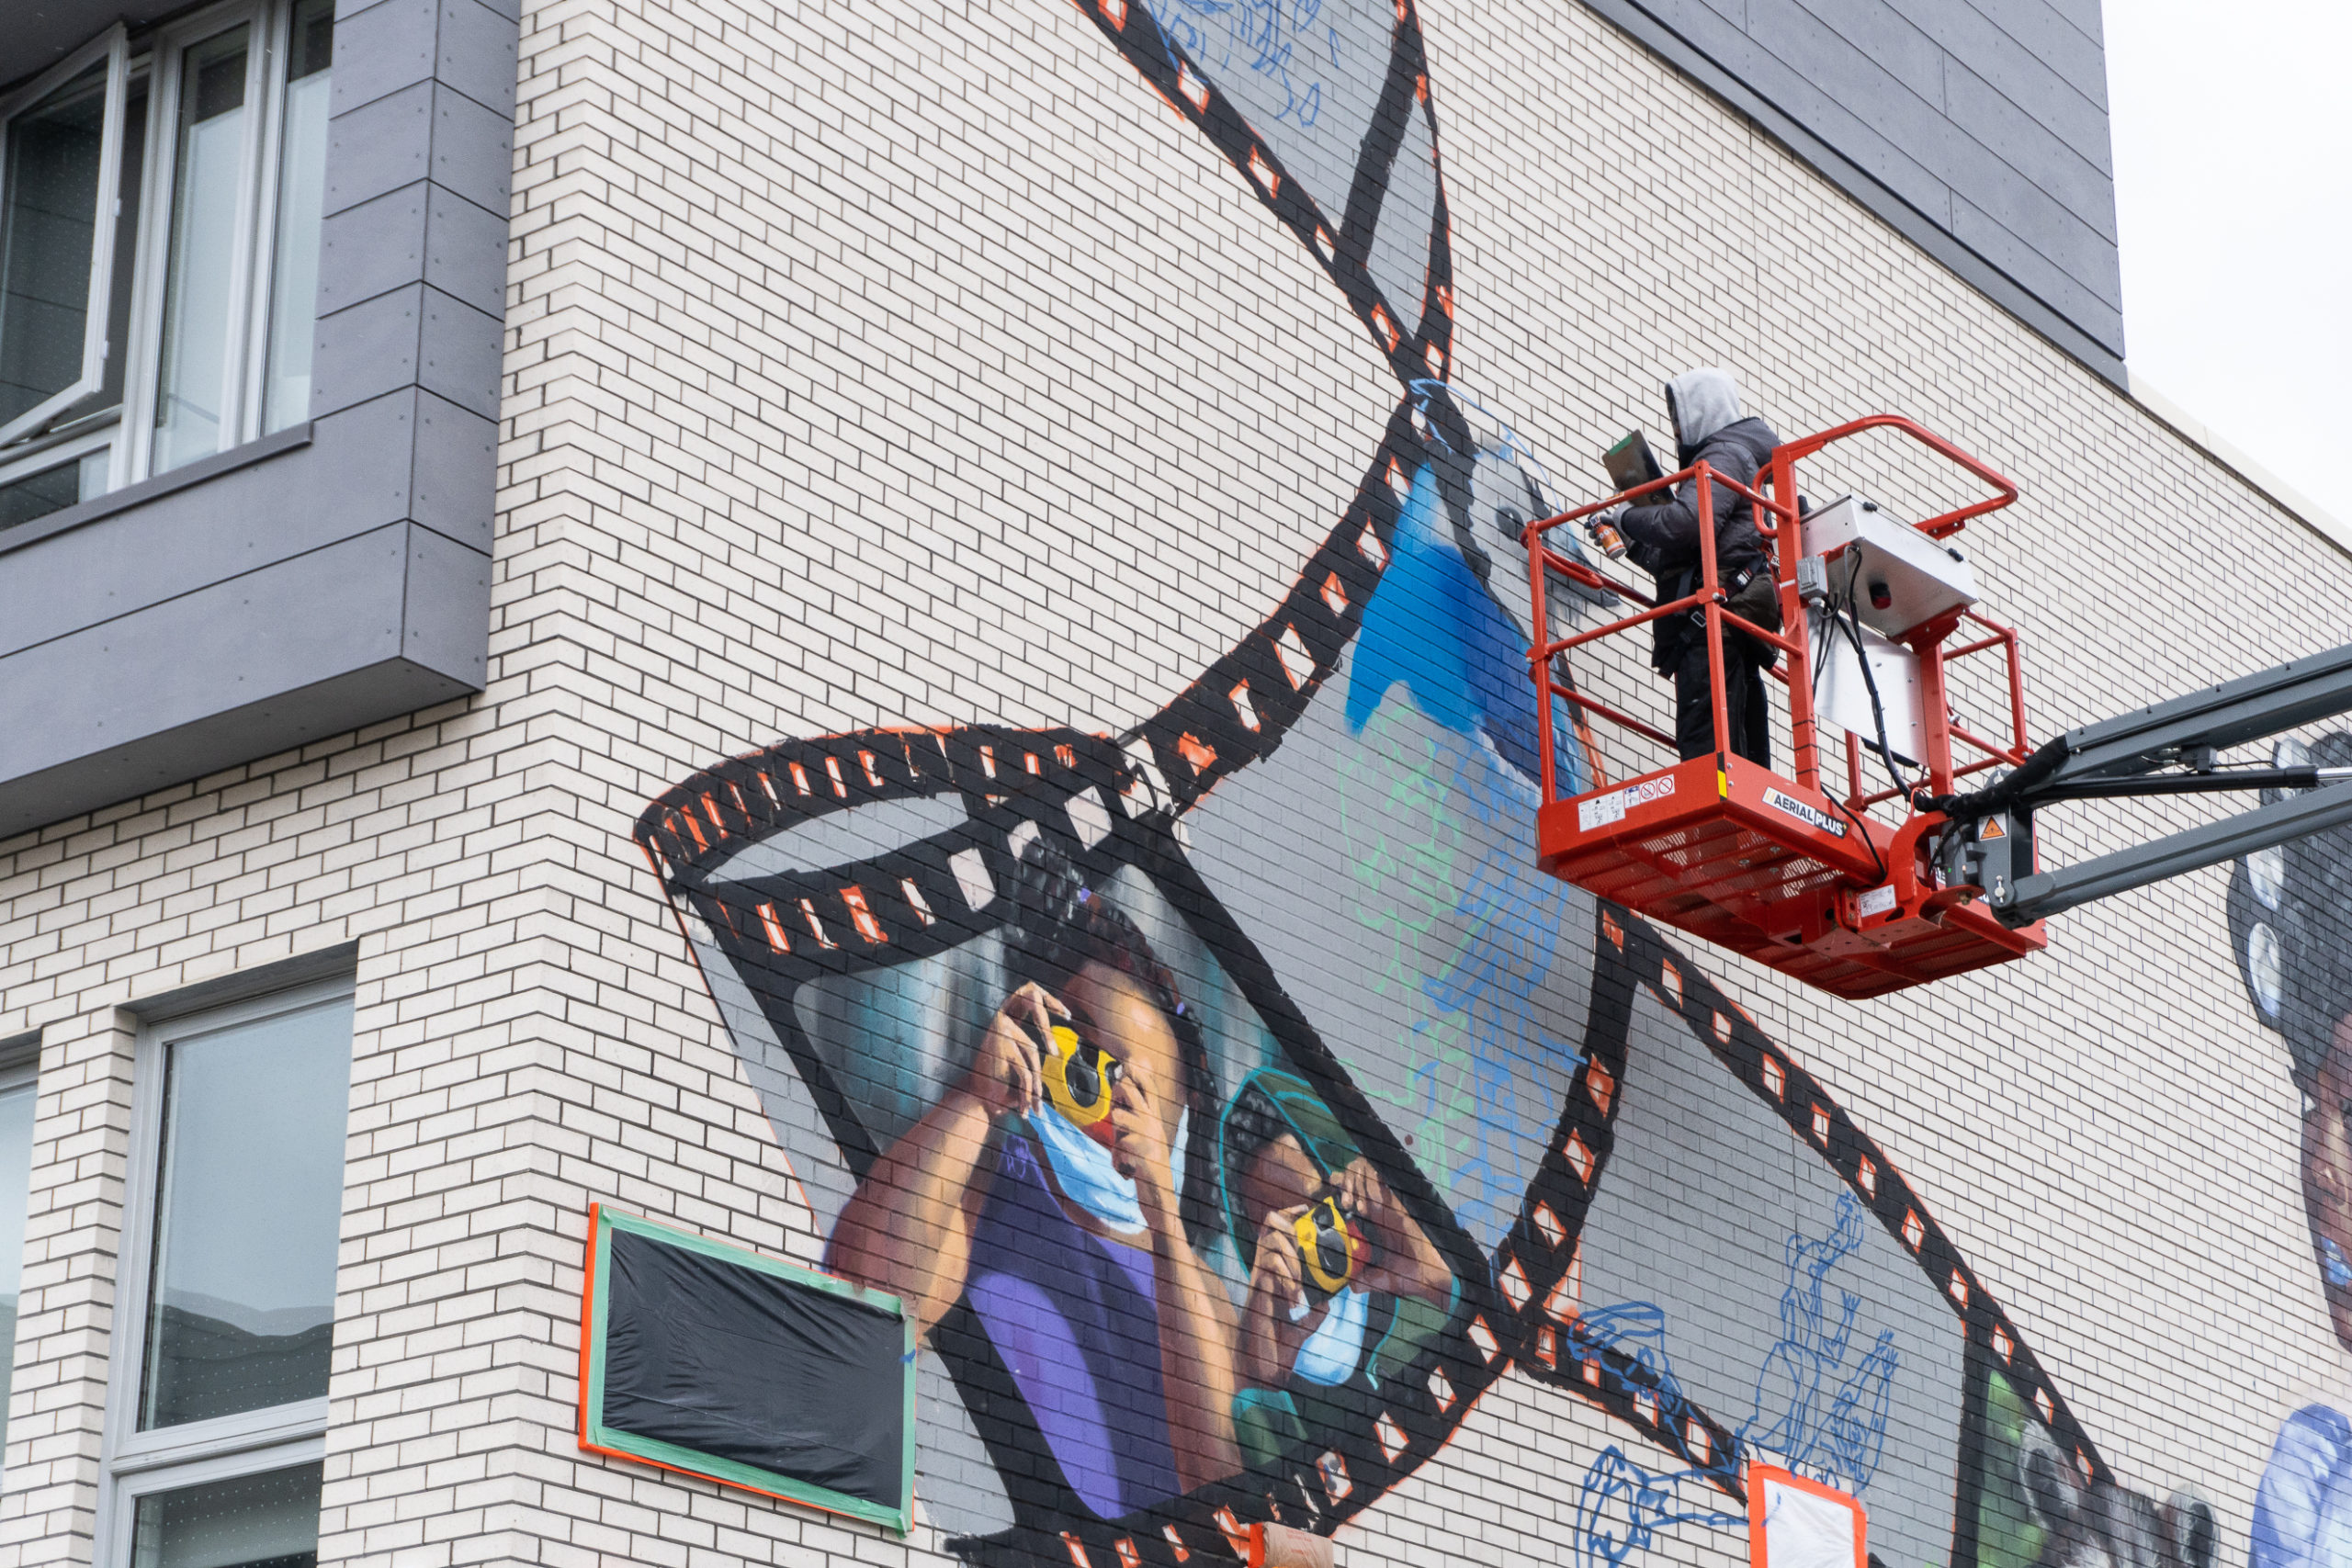
Depending on what your project is, you might be fully certified for the project. If it’s your first time painting or installing artwork that requires a lift, you’ll have to receive proper training before production begins. Or, perhaps you’re engaging with community members through your project.
Example training or screenings could include Working at Heights, Elevating Work Platform (to operate scissor lifts and boom lifts), first aid, and/or vulnerable sector screenings.
If you’re certified, take note of expiration dates. Make sure to keep your training certifications up-to-date so your projects don’t get delayed.

Artist credit: Jessey (Phade) Pacho for the Leslie Nymark Project
Photo credit: May Shi
Artist insurance
If you don’t have insurance to cover potential liabilities, damages, injuries, copyright infringement, or legal action taken by dissatisfied clients, your project may be delayed or face potential consequences should a project go array.
While we hope these situations don’t occur, it’s better to be prepared–protect yourself and consult an insurance agent for your best options.
Be prepared to digitize your artwork
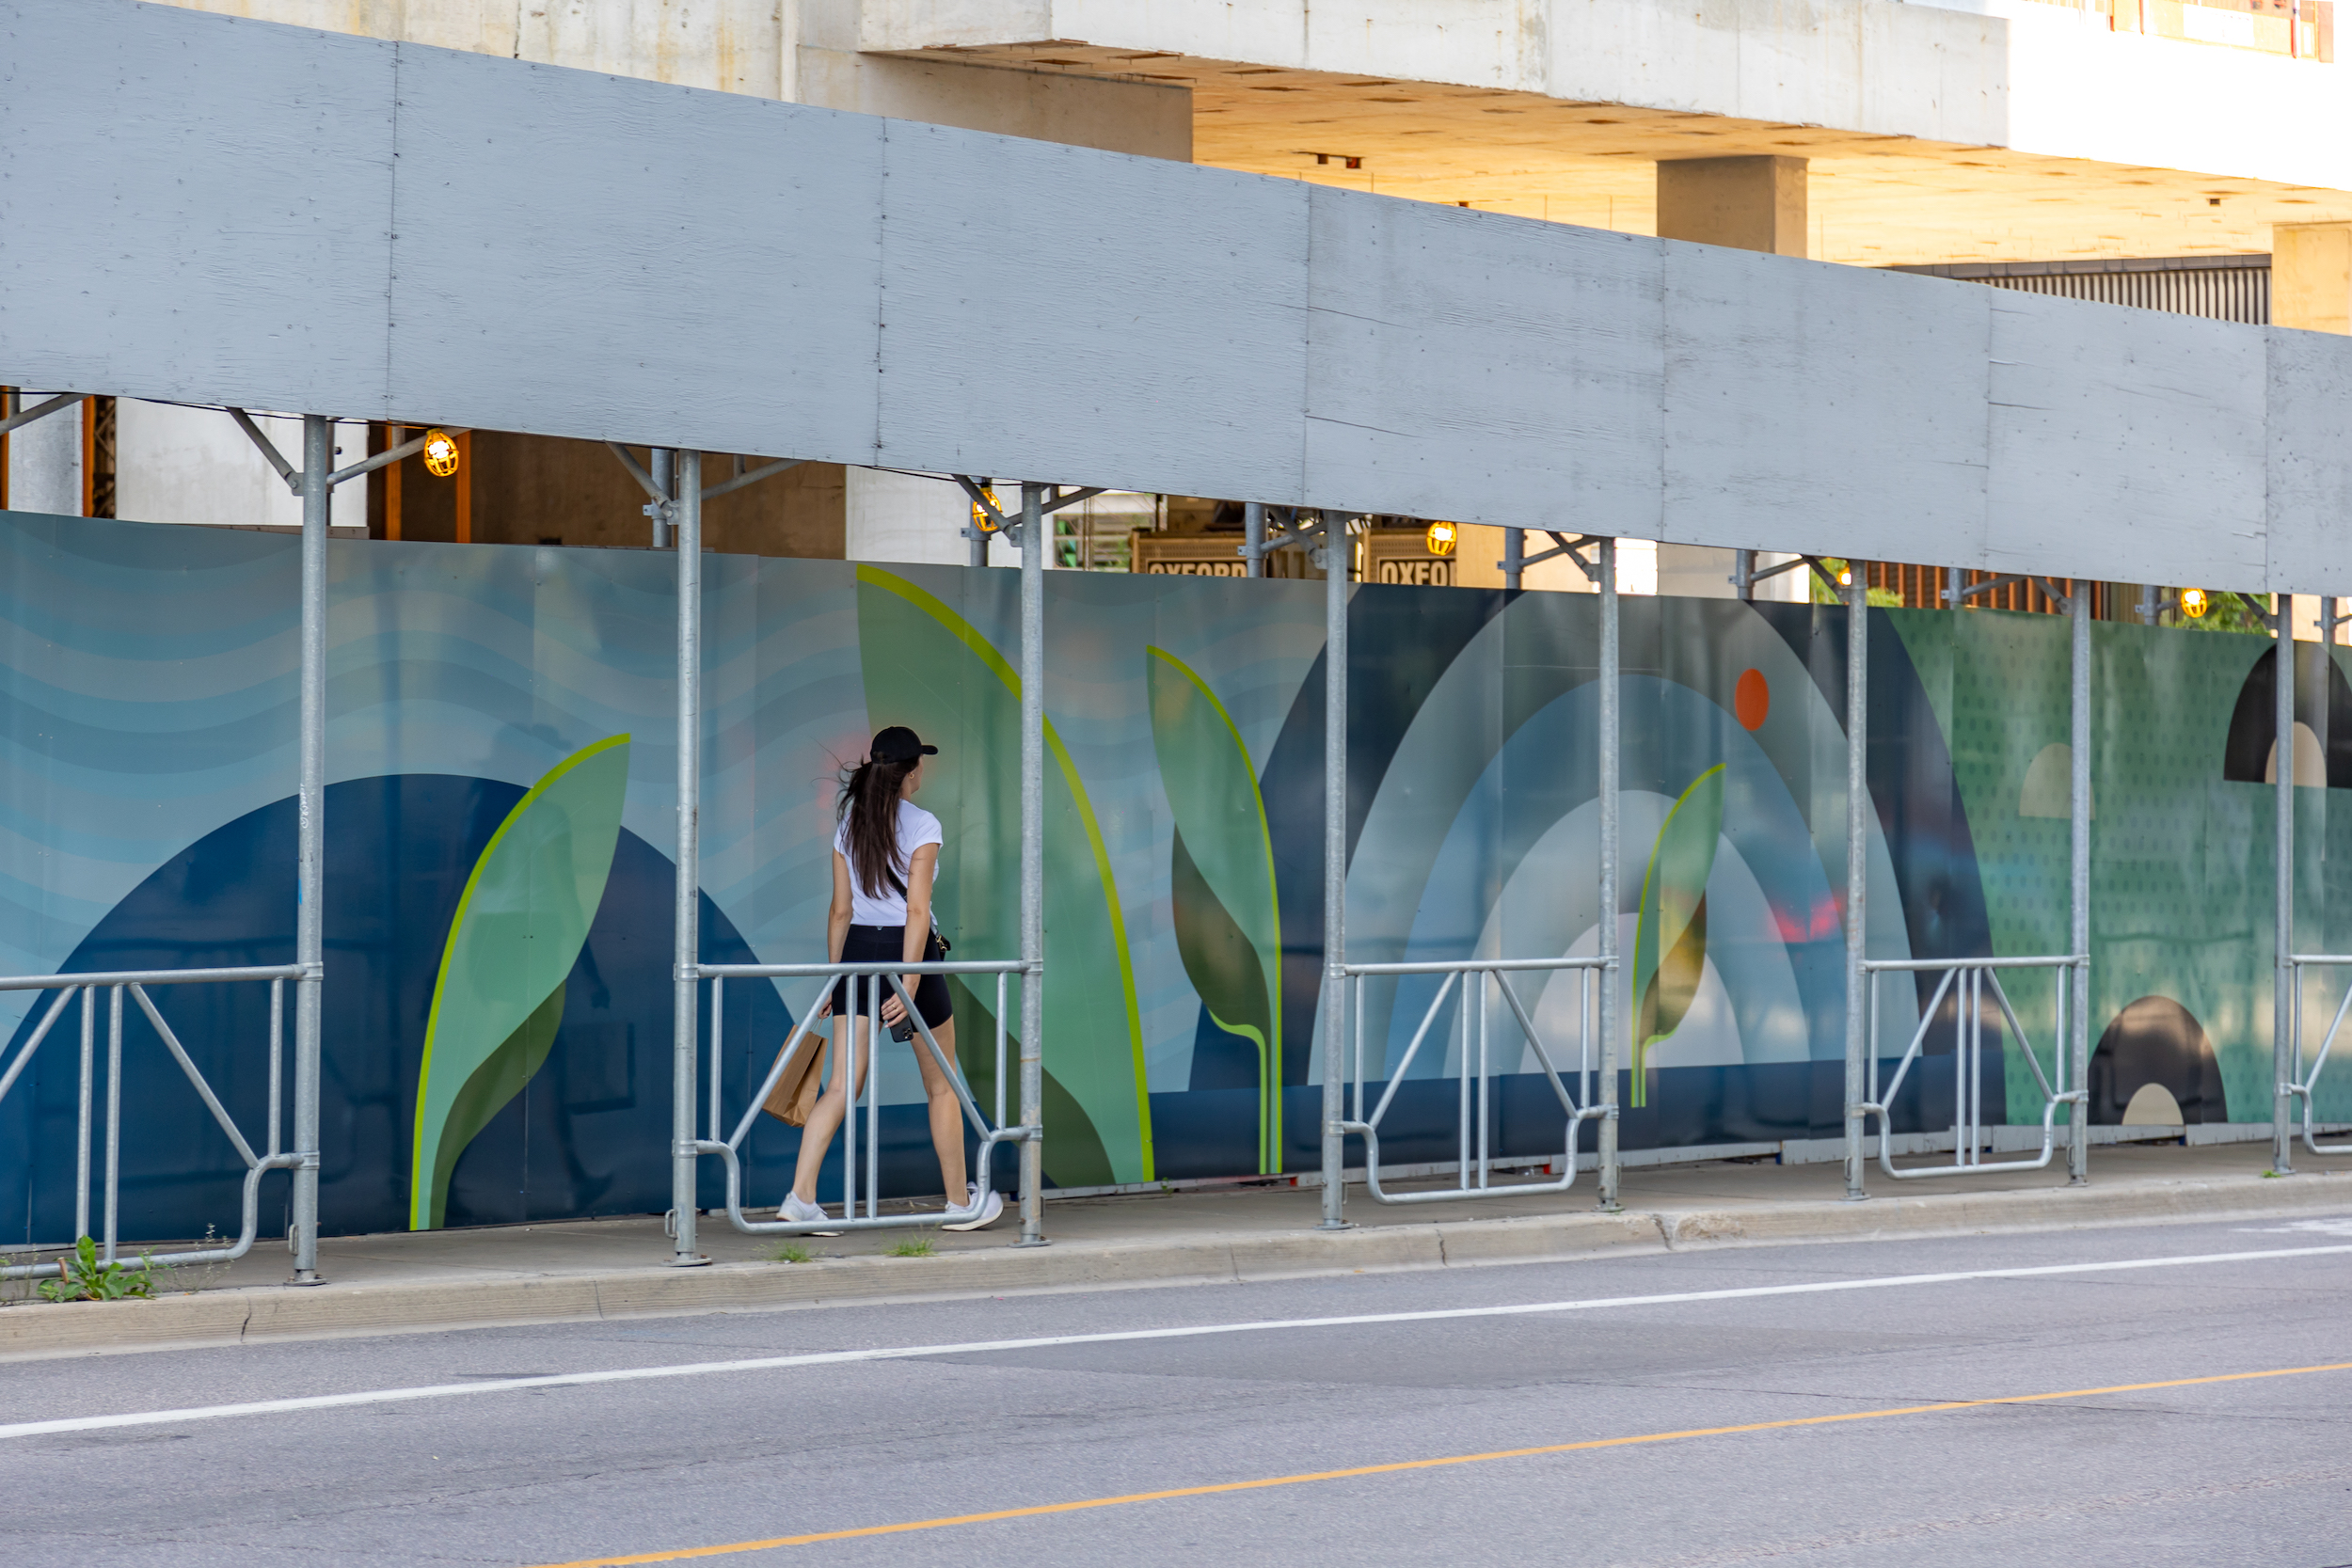
Whether you primarily work in digital illustration or traditional art (like painting and sculpting), there may be times when you have to digitize your artwork for large-scale or oversized printing.
To ensure your files are printer-ready, it’s beneficial to understand the basics behind digitizing your artwork and setting up your design files efficiently. This includes ensuring you’re in the correct colour mode (CMYK for print), scaling graphics and assets for the highest resolution, and properly exporting your files for the printer (just to name a few).

Artist credit: Rachel Wilshurst for Matinee Overlay
Photo credit: Mila Bright Zlatanovic
By getting comfortable with translating your artwork for digital formats, you can explore different canvases and expand the versatility of your artwork (imagine your pieces on a construction hoarding exhibit or vinyl mural wrappings)!
Administrative pieces (budgets, artist fees, invoices)
Administrative work isn’t fun, but you’ll thank your future self for having these pieces organized from the start (especially when tax season comes around).
This can include:
- Budget tracking and keeping note of material costs–save those receipts!
- Understand artist fees and how to set your fees so you’re getting paid fairly (CARFAC is a fantastic starting point)
- Generating invoices to get paid–learn how to set these up and be sure to keep all documents saved for future reference
Have Fun!
Enjoy and learn from the process from start to finish! Whether it’s your first public art project or your tenth, every experience contributes to the growth of your artistic practice.

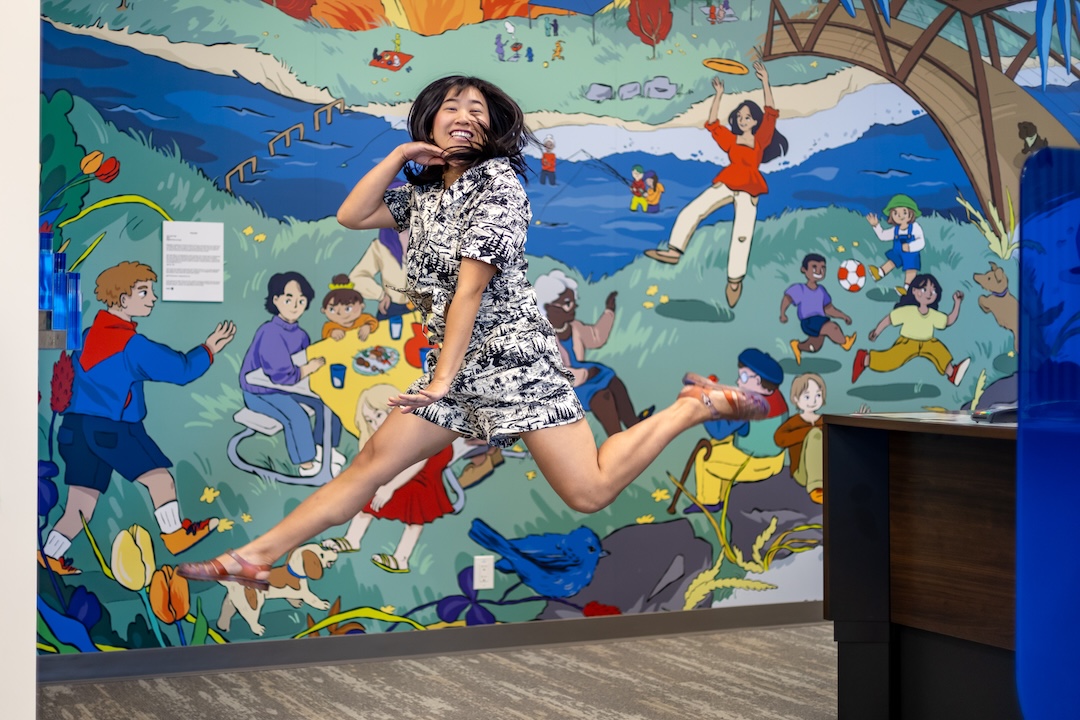
Artist credit: Yen Linh Thai for the BMO National Mural Series
Photo credit: Mila Bright Zlatanovic
By preparing ahead of time with some of the pieces covered today, you’ll feel more at ease at the artmaking stage. So, document the behind-the-scenes frenzy and feel proud about your work in fostering vibrant communities through your art!
These are just some of the tips we have to help artists like you prepare for your next public art project. If you’re interested in learning more about how STEPS supports artists, visit our dedicated Artists page and join our artist directory.
Have a story to pitch or an exciting idea on how we can work together on a Fieldnotes feature? Contact us to get the conversation started.

